Layered Acrylic Lamp: Digital Process
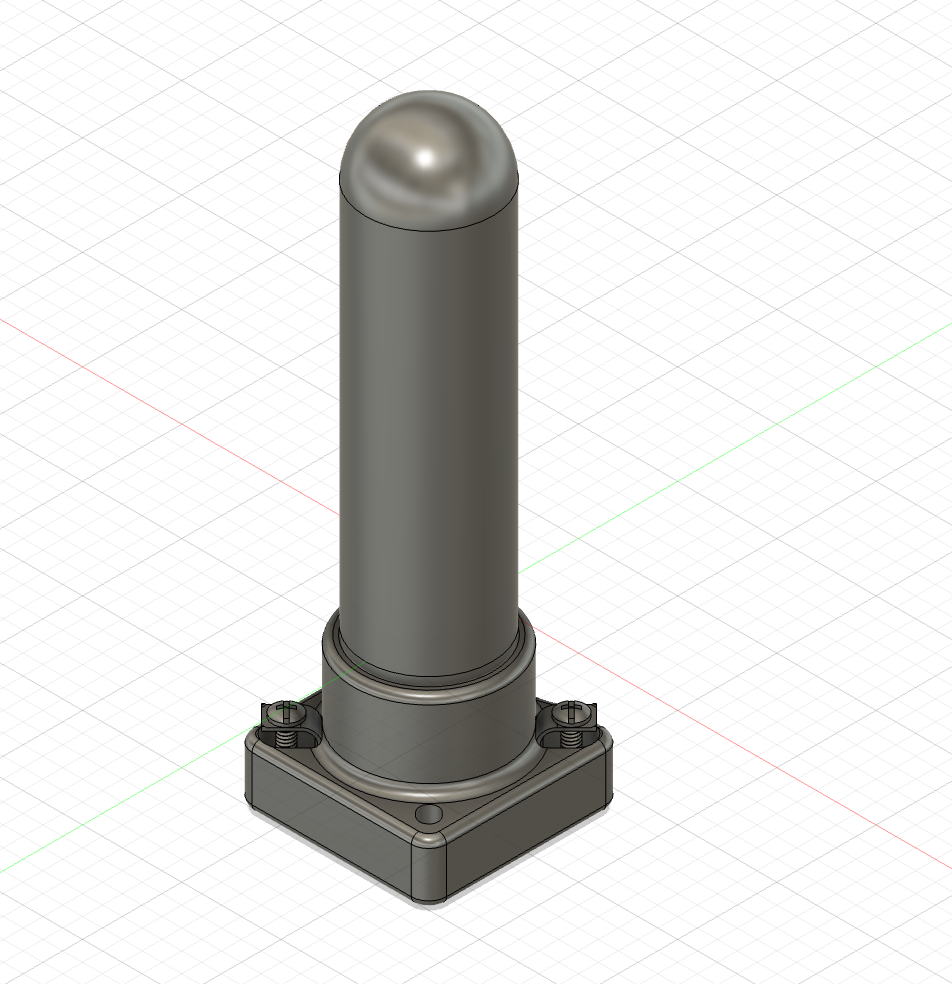
This project began in Fusion, where creating parameters and layered sketches made realizing the stacked ring form smooth and easily replicable. Directly importing hardware from McMaster also helped ground my vision in reality, centering it around real parts. When I realize this project in acrylic and aluminum, I will use these parts at the core of the design.
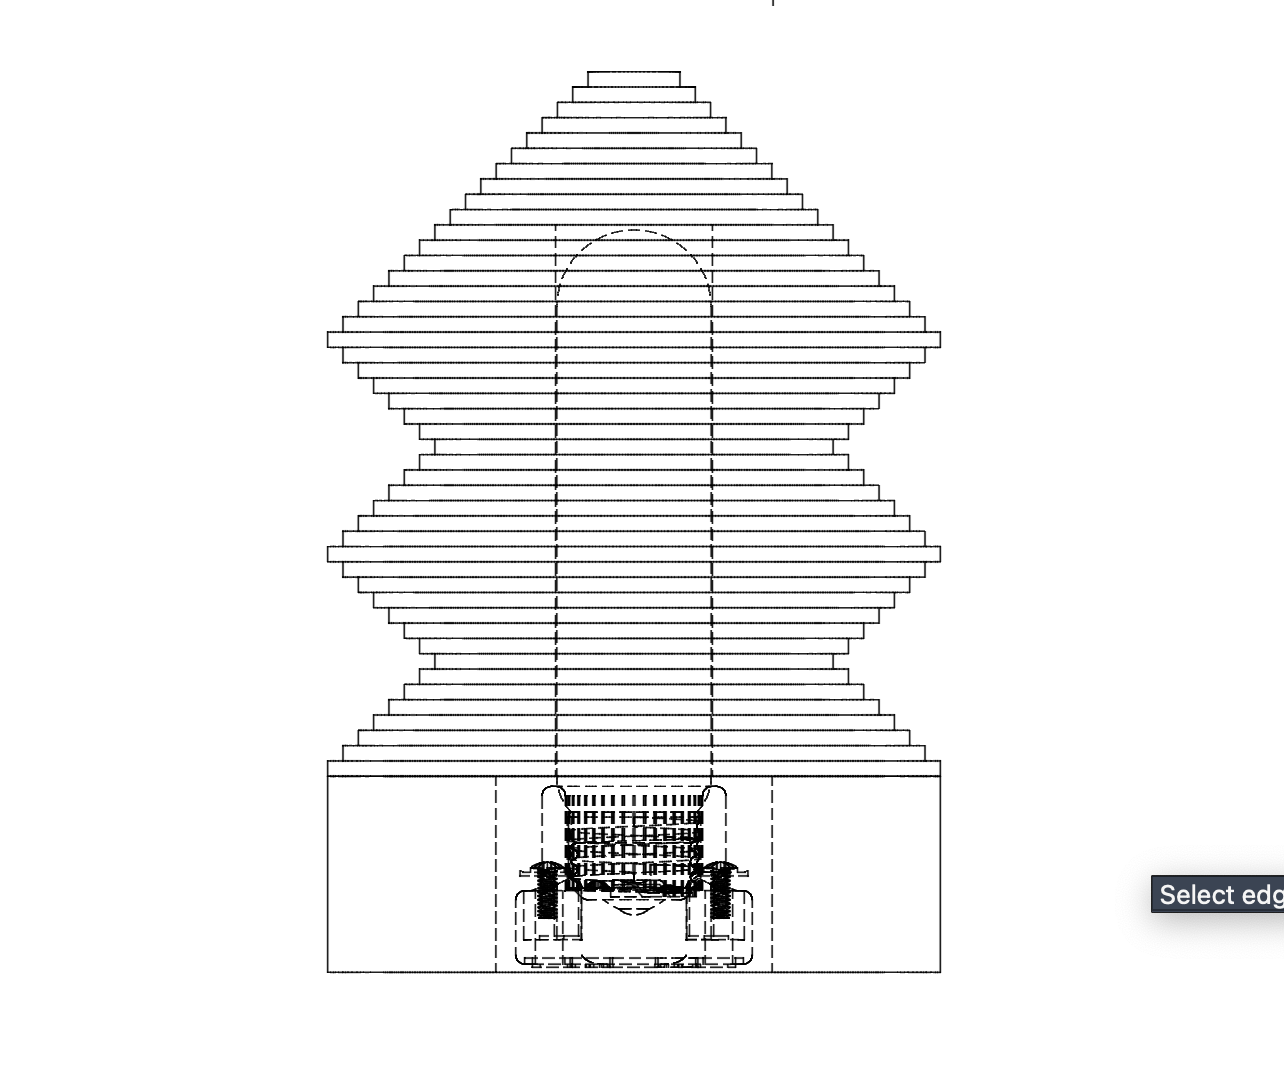
I started off by importing the hardware components I would use to realize this lamp — because this design is intended for eventual manufacturing, I centered it around actual parts. The tube bulb and socket were the anchor of the rest of the model.
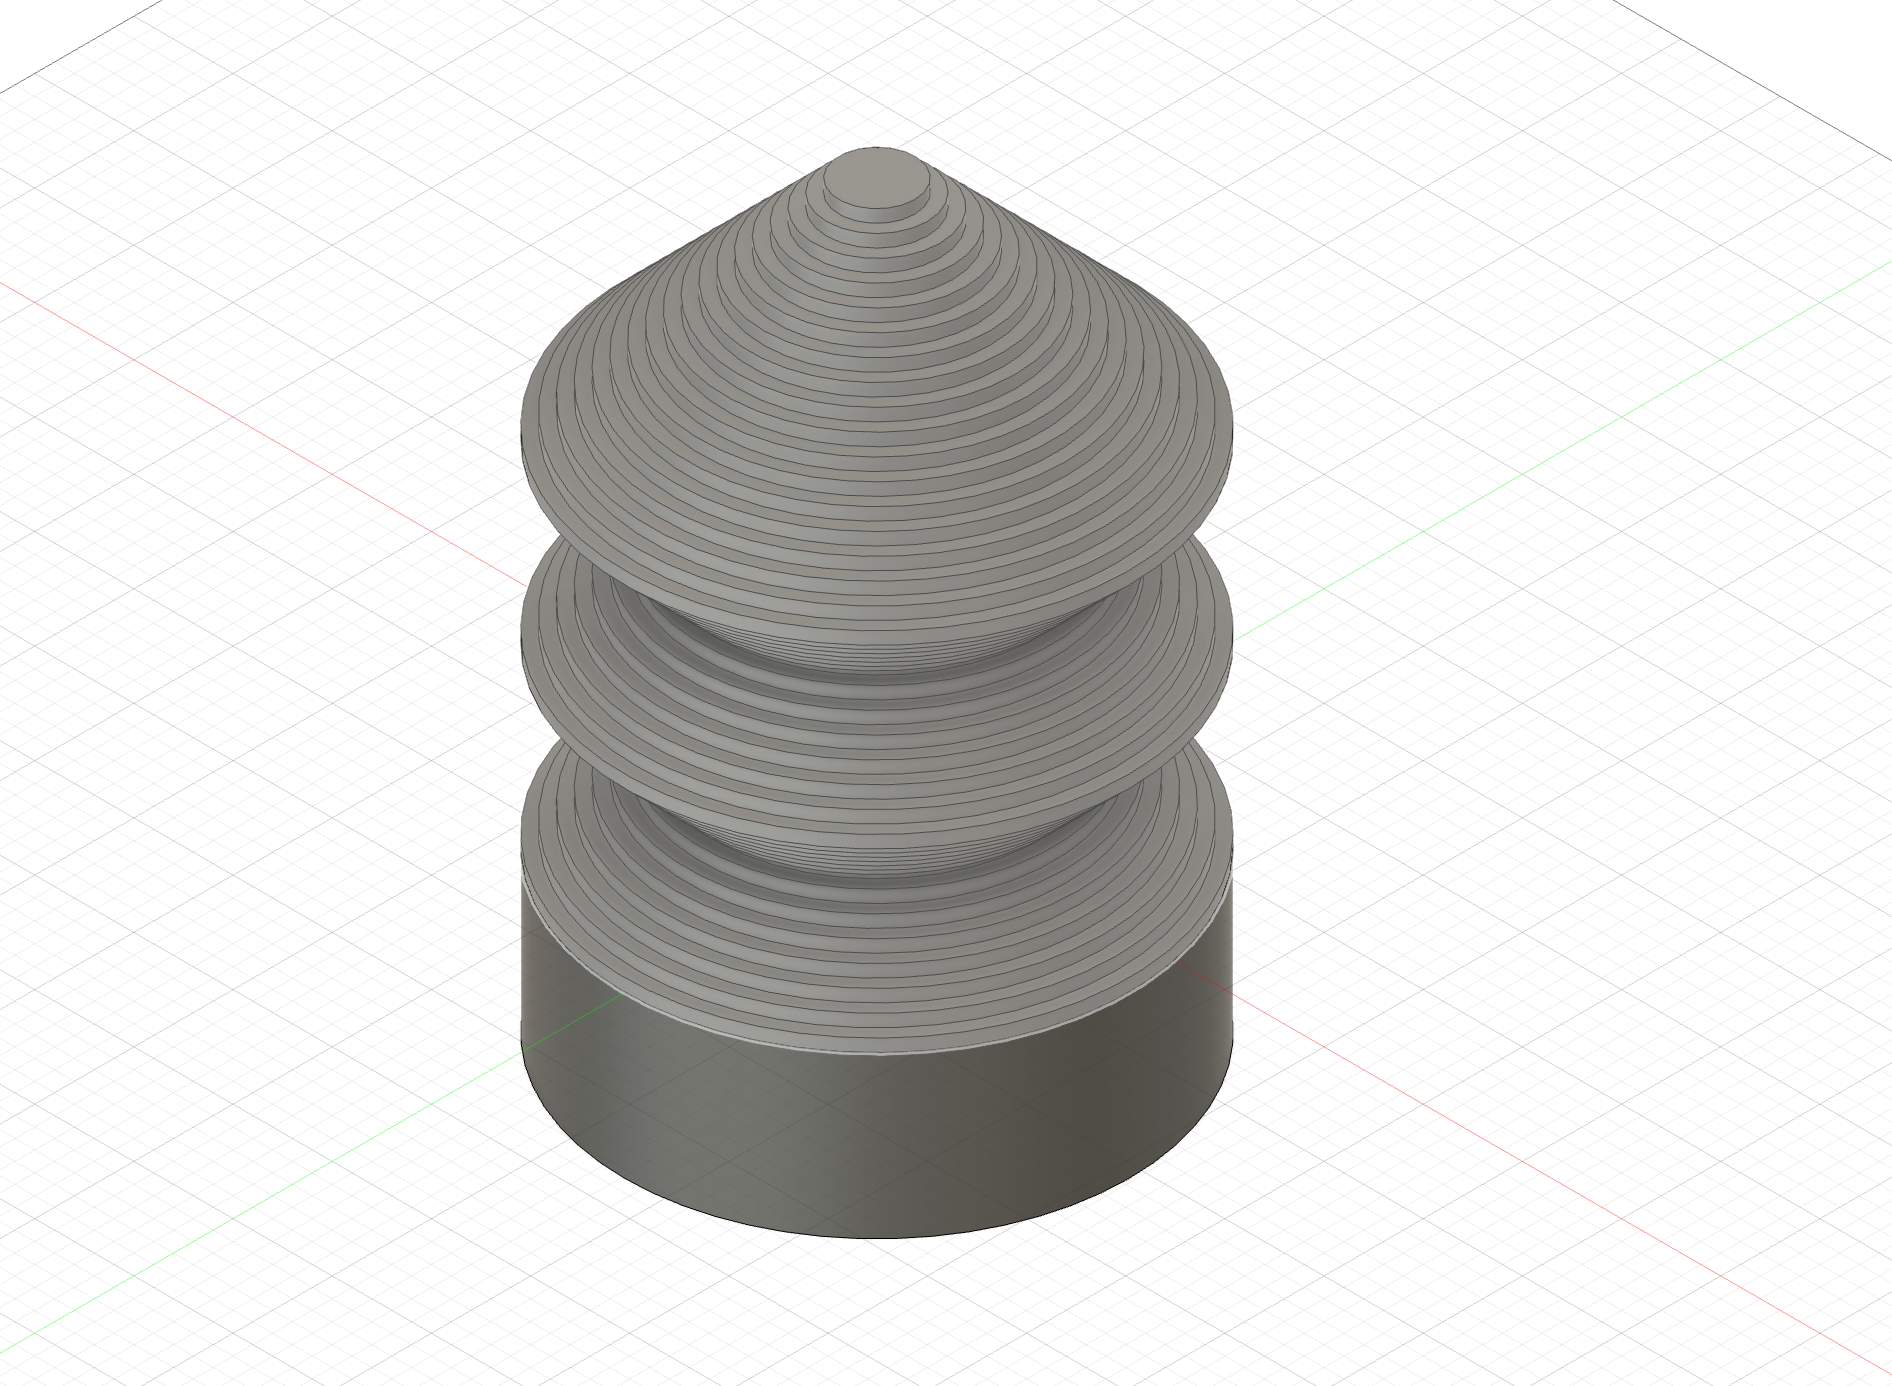
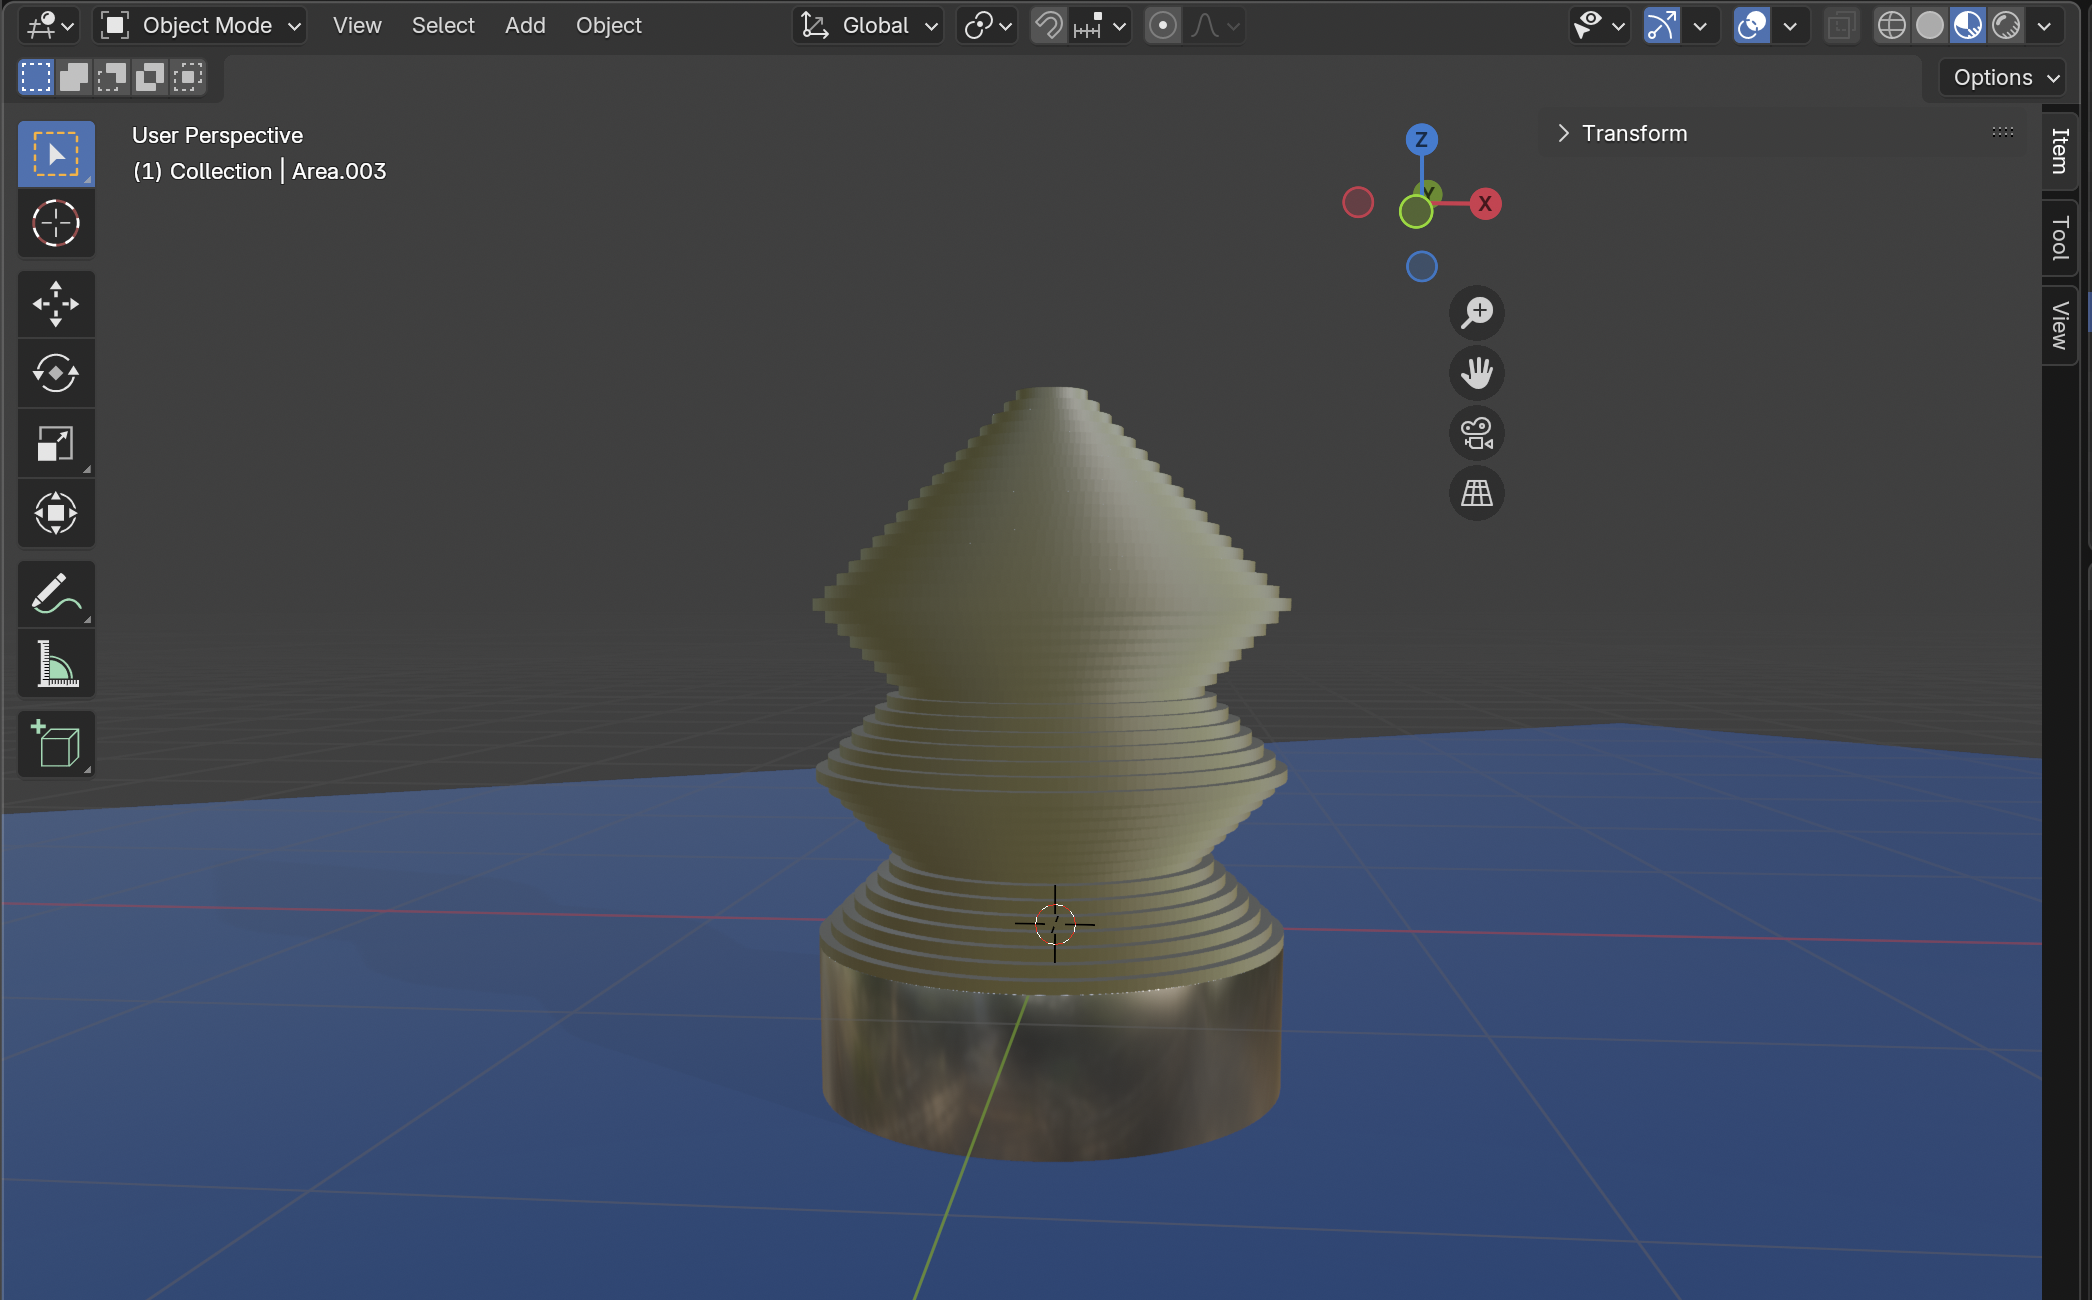
I modeled the base by extruding a circle with a square cut-out shaped around the socket. The rings were modeled with a central hole tailored to the diameter of the bulb — once all 46 rings were modeled, I stacked them by snapping together their central points.
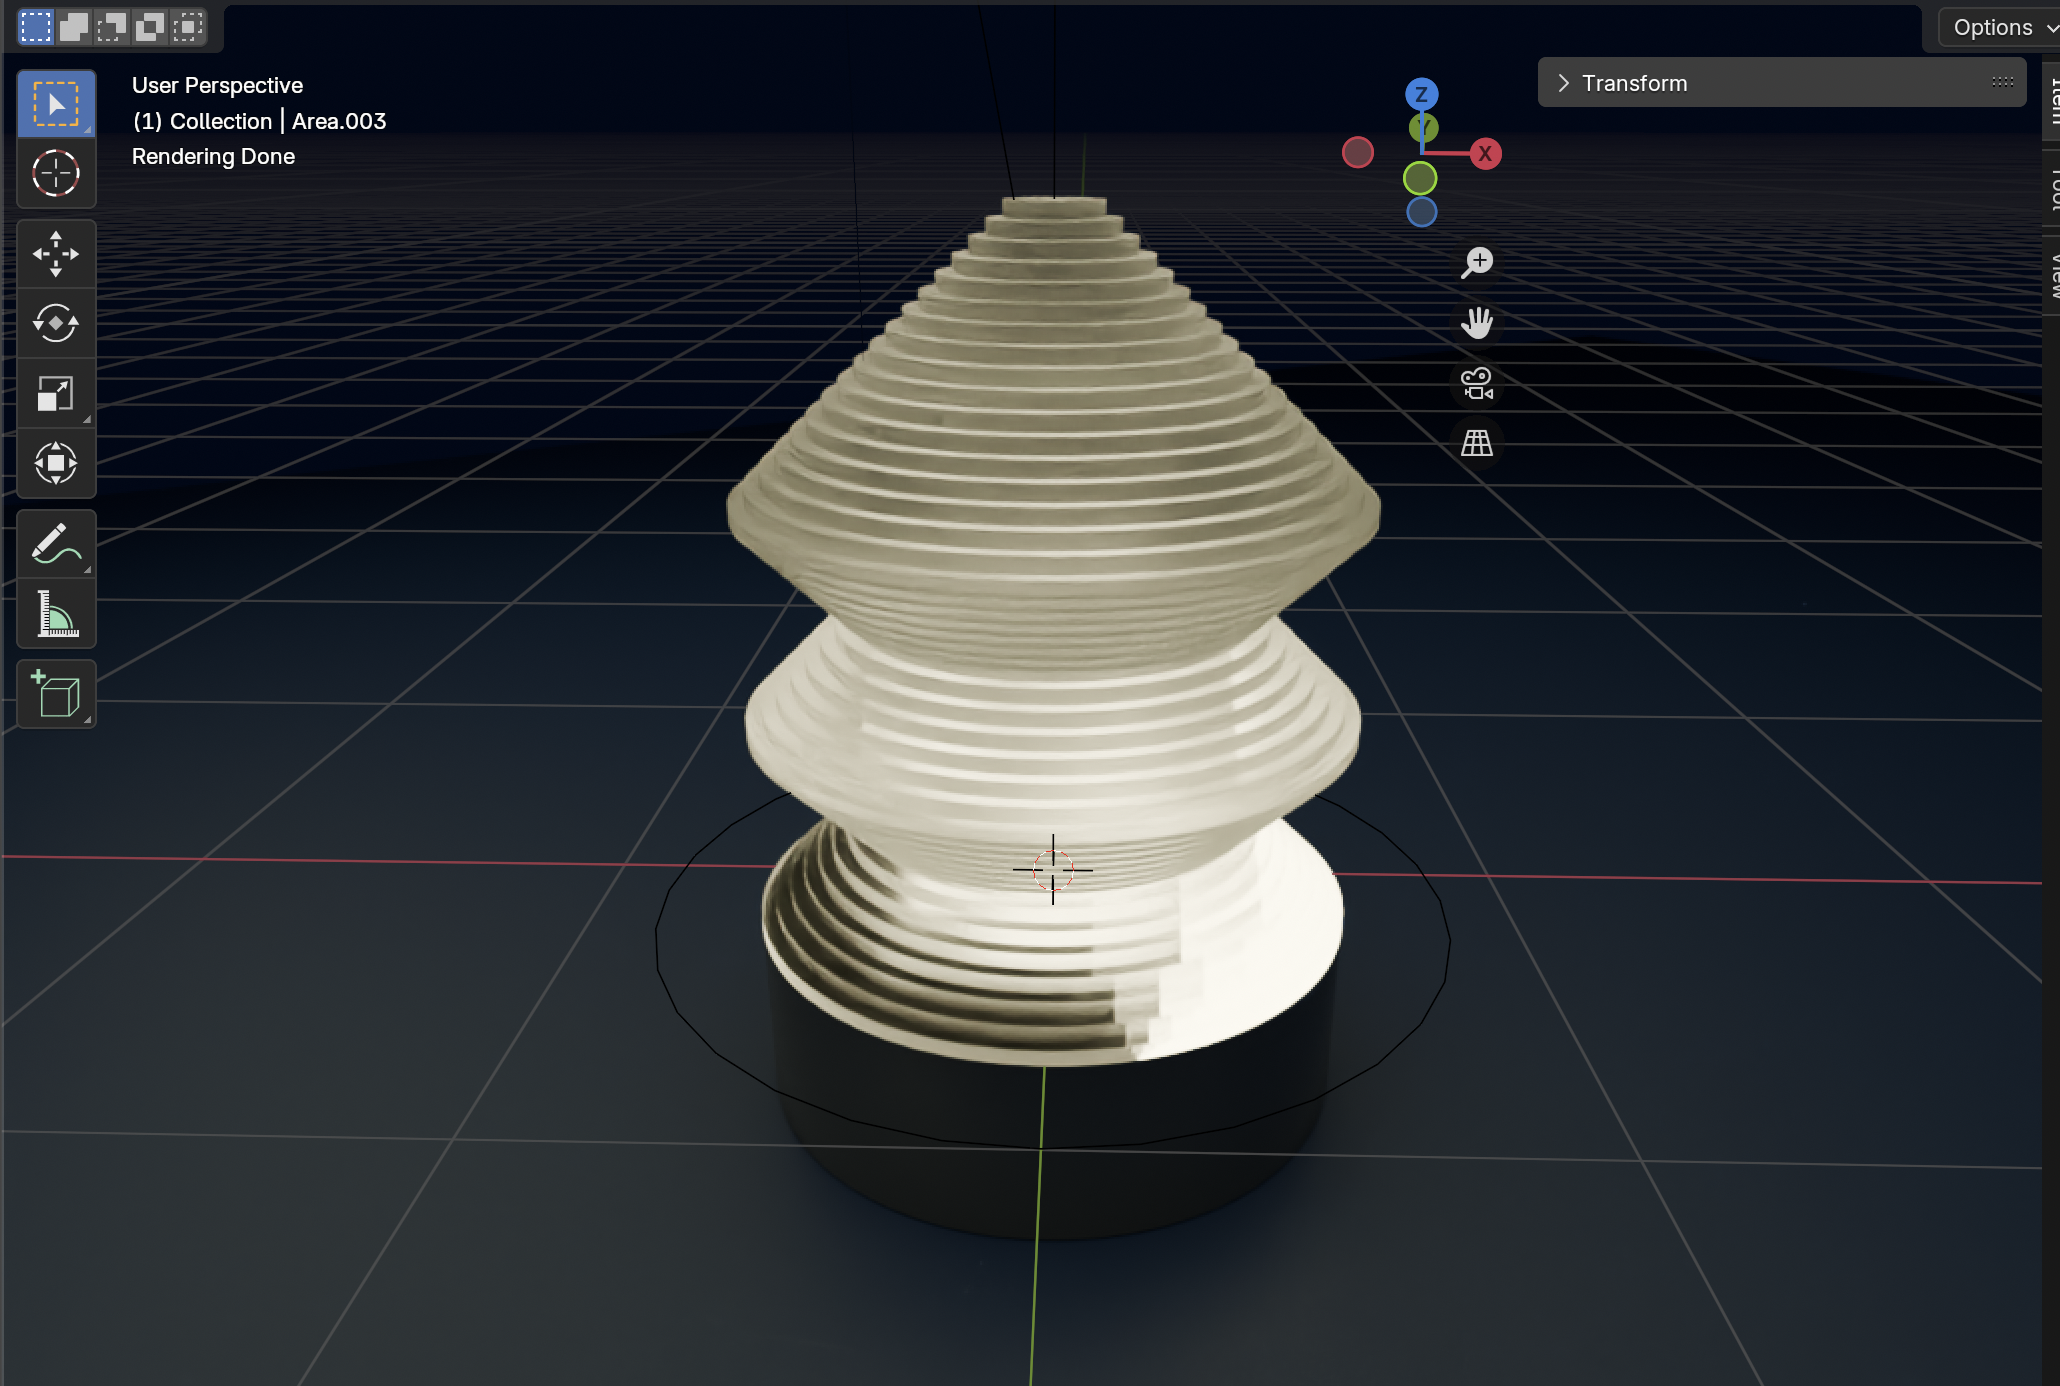
I exported two .stl files from Fusion into Blender: the base and the rings (as one joined body). This allowed me to assign each segment a material with distinct properties, influencing how each component interacted with the light emitted from the bulb. I also added a plane for the lamp to sit on, to help visually contextualize it in the final render.
Once the materials were assigned and the plane added, I rigged the lighting, using area and point lights to emulate the lamp as it would realistically appear. Once the lighting was implemented, I revisited my materials and made several tweaks, making the acrylic frostier and the enhancing the metallic effect of the base.