CNC Reliefs
Reliefs were my first foray into CNC machining. They allowed me to experiment with how wood responds to layered machining, and through iterative tests with roughing and finishing passes, I learned how grain direction, cutter geometry, and machining speed influence texture and finish. Each piece became a small study in material behavior and how the CNC responded to different geometries.
The final ammonite was foundational to my understanding of toolpath generation, bit changes, axis zeroing, and manipulation of feed rates and chip loads, skills which allowed me to take on more complex projects.
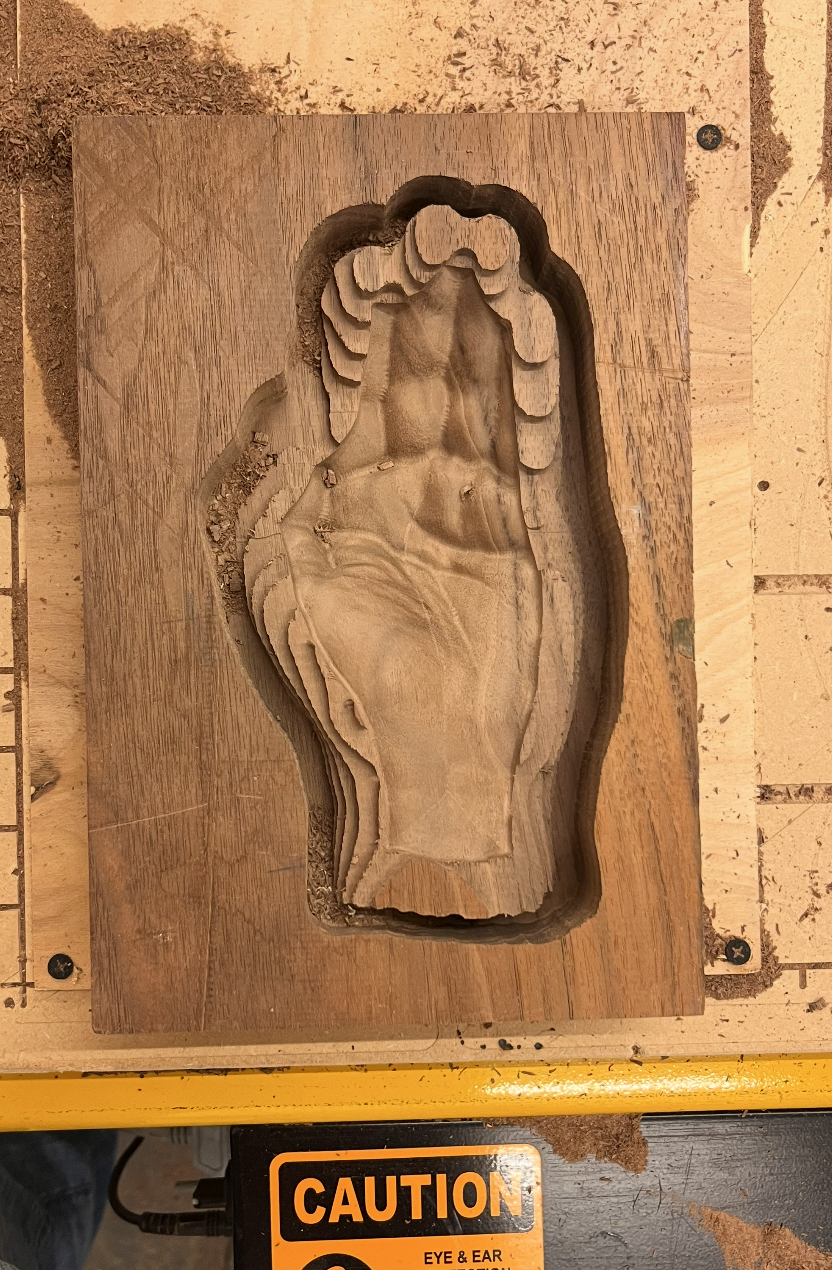
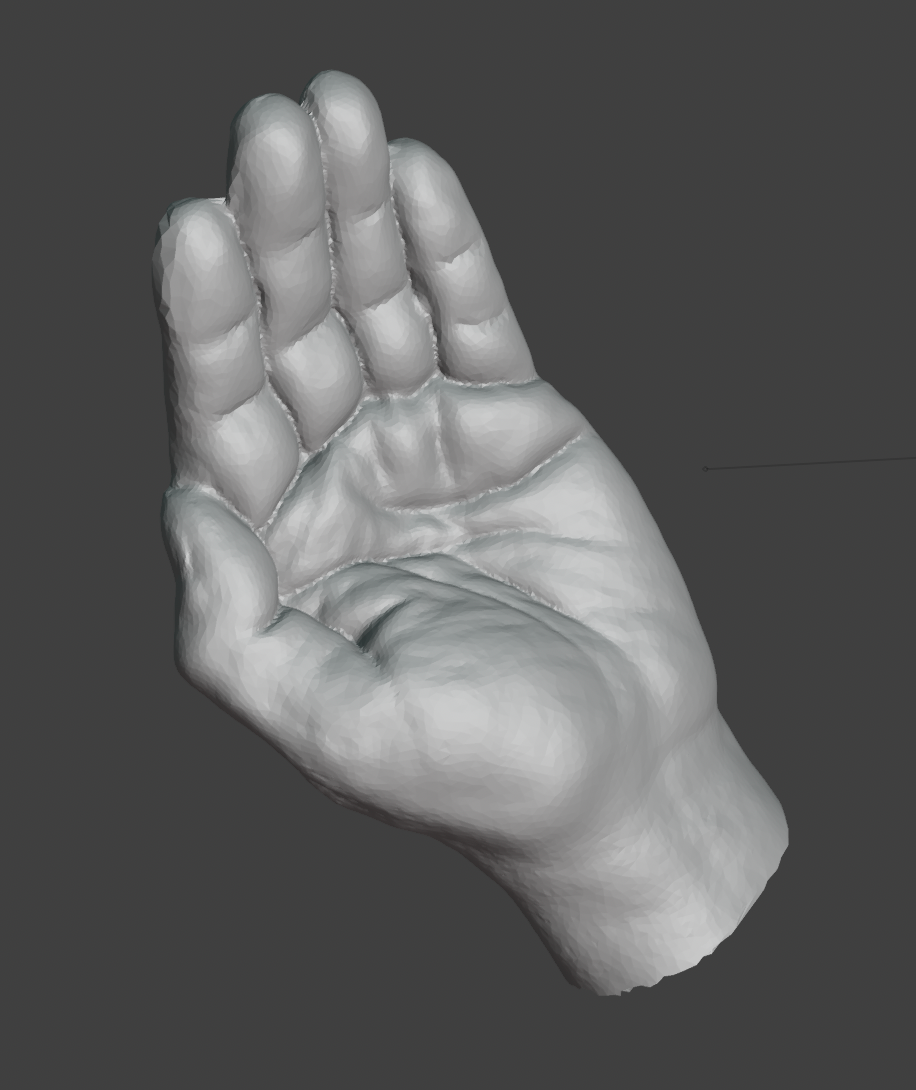
The Hand
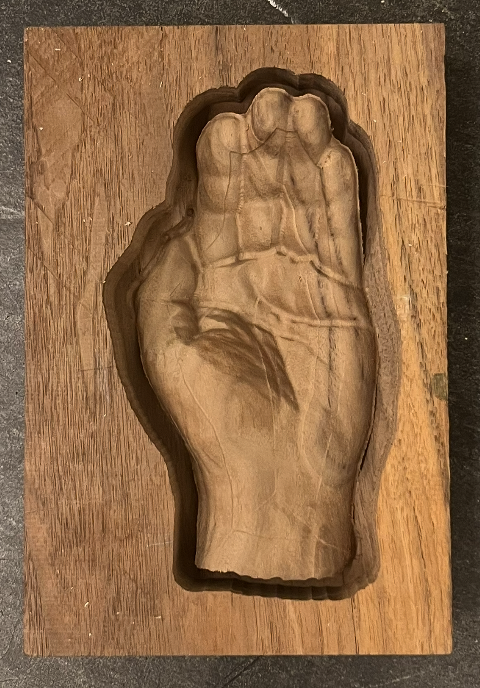
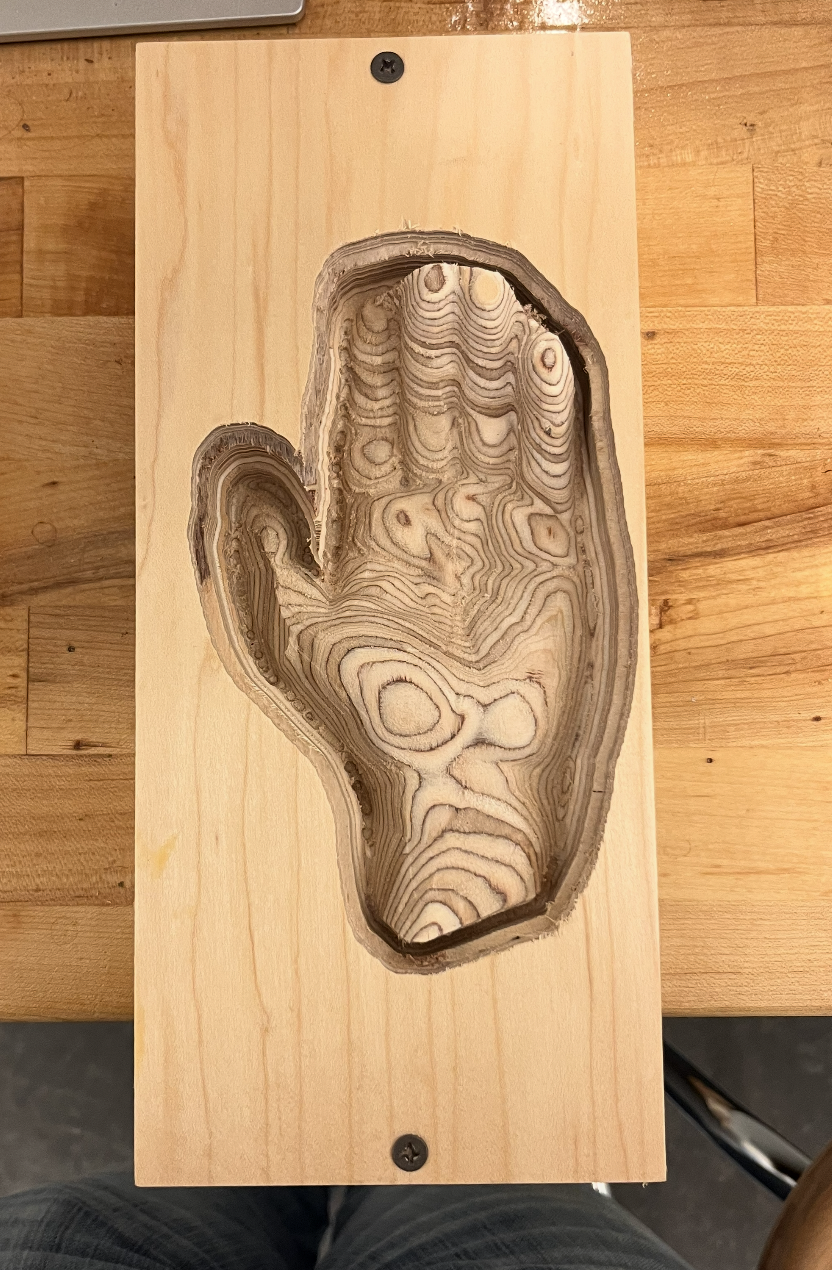
I created this 3D model with polycam, and cleaned up holes and shallow lines using digital sculpting tools in Blender. This project was a fun journey into producing human anatomy with the CNC machine — however, it also ran into several problems which required significant problem solving to reach a final piece.
The first attempt, on plywood, used a 1/4’ square endmill for its roughing pass. however, an issue with slight slippage caused the bit to cut too deep into the stock, leaving the dent on the thumb. I remedied this through more carefully tightening the collet during the final pass. This attempt was finished with a 1/8” ball endmill, despite its imperfect start.
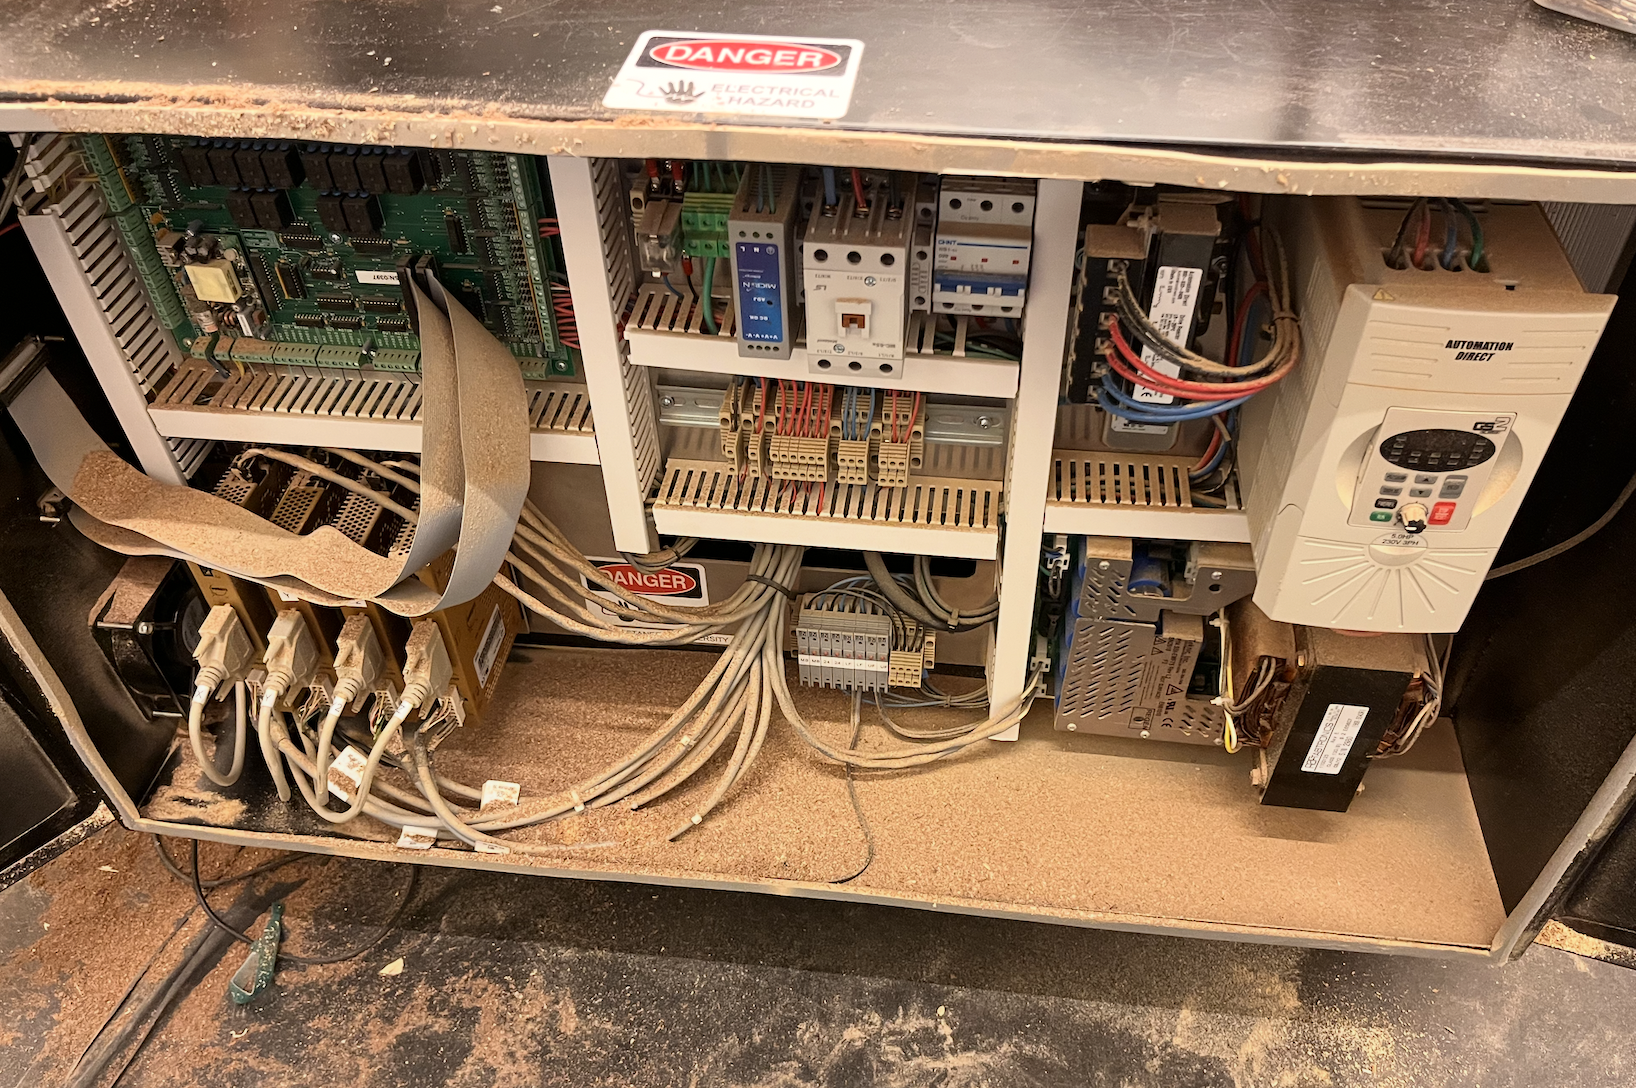
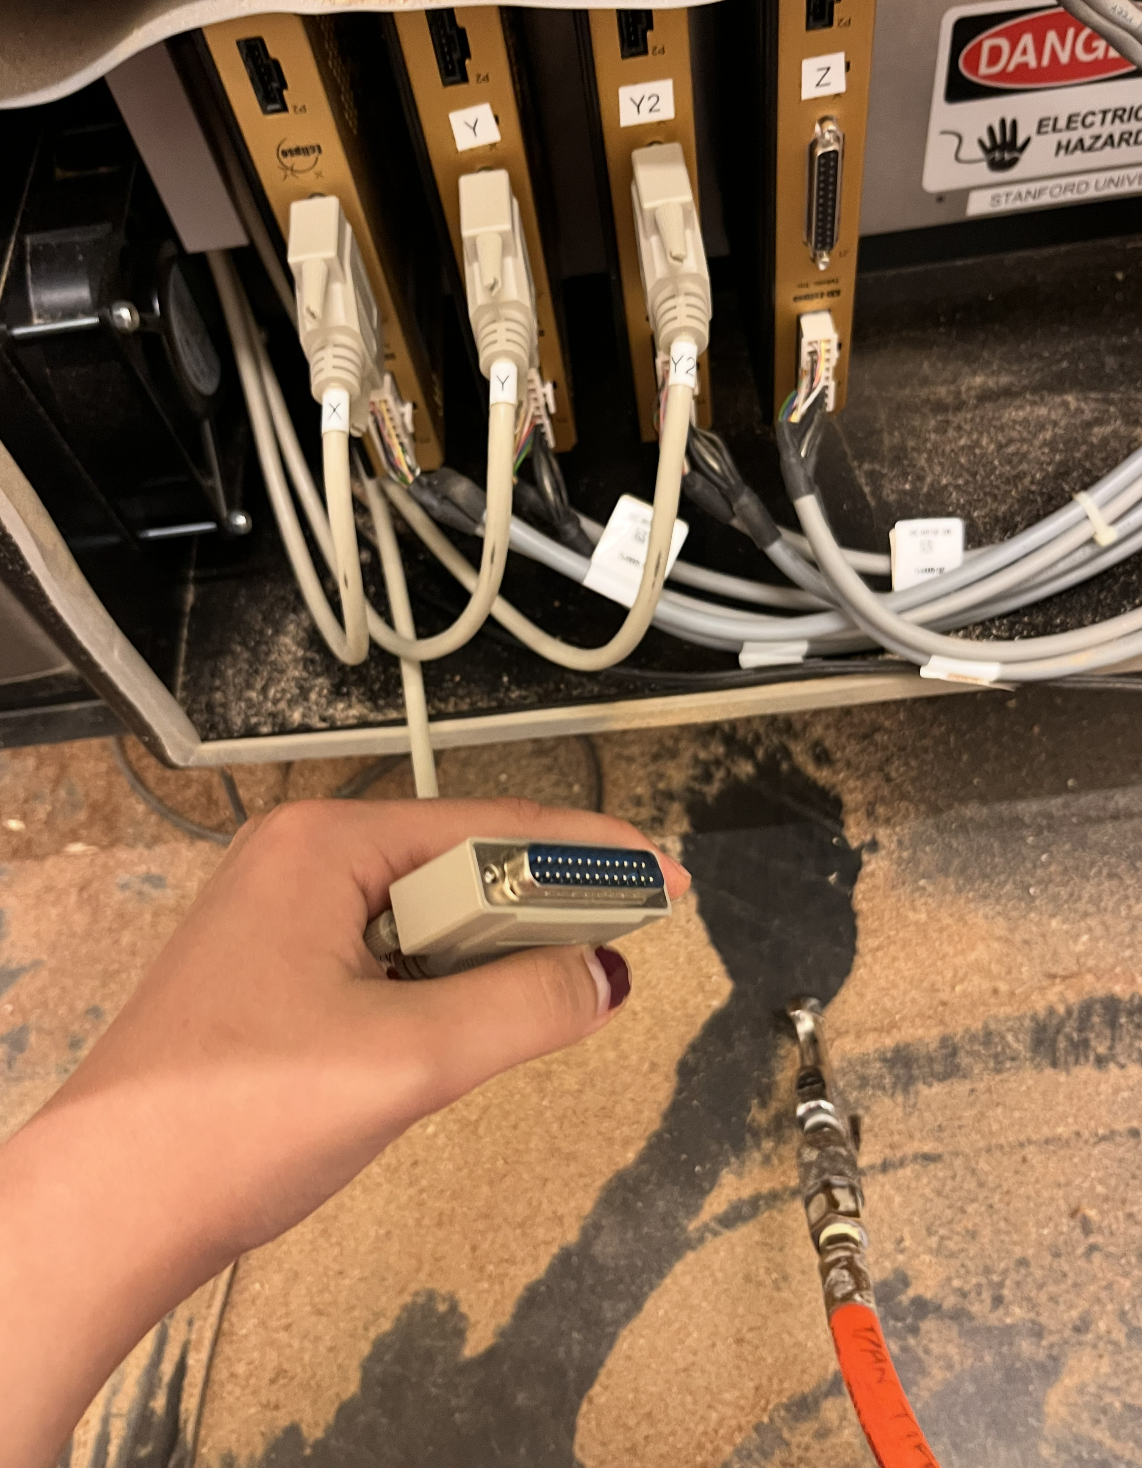
As I moved on to the final rendition, I ran into a problem during the finishing pass: the machine froze due to a tripped Y servos. After consulting with the experts in the shop and conducting my own research, I developed a plan for troubleshooting. The first step was to open the control panel of the machine and blow out any unwanted sawdust or debris.
Upon opening it up, I found a layer of sawdust at least half an inch thick coating every inch of the control panel. I powered the machine off, and using a compressed air host, a handheld broom, and a mask, I carefully cleaned out all of the dust, carefully working around the more delicate components of the machine.
After the intense cleaning, I restarted the CNC and carefully realigned my workpiece. The long-overdue clearing of debris allowed the machine to finish the pass smoothly, leaving only a small line where the cut froze and restarted.
This project was a lesson in the importance of workplace maintenance, as well as careful piece alignment and axis zeroing.
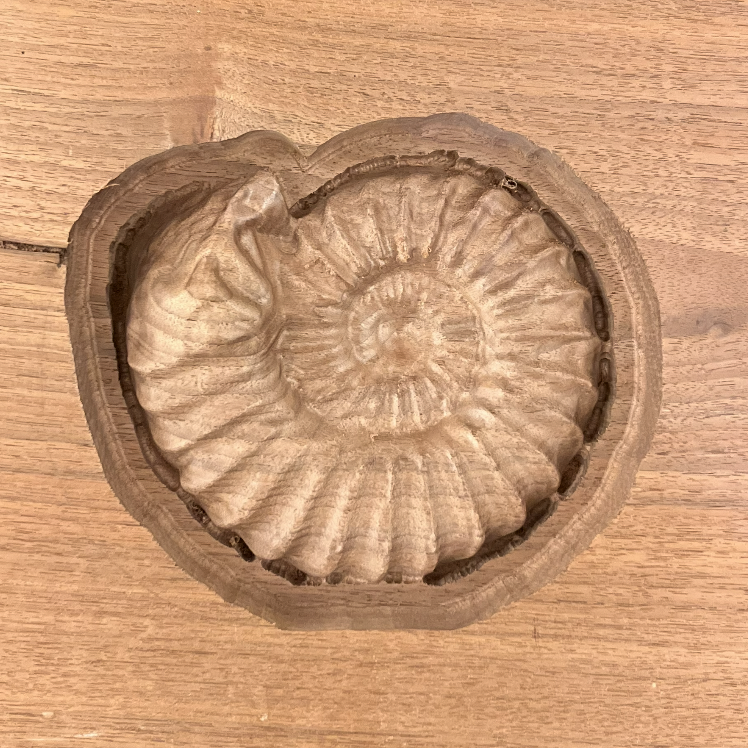
Single Test
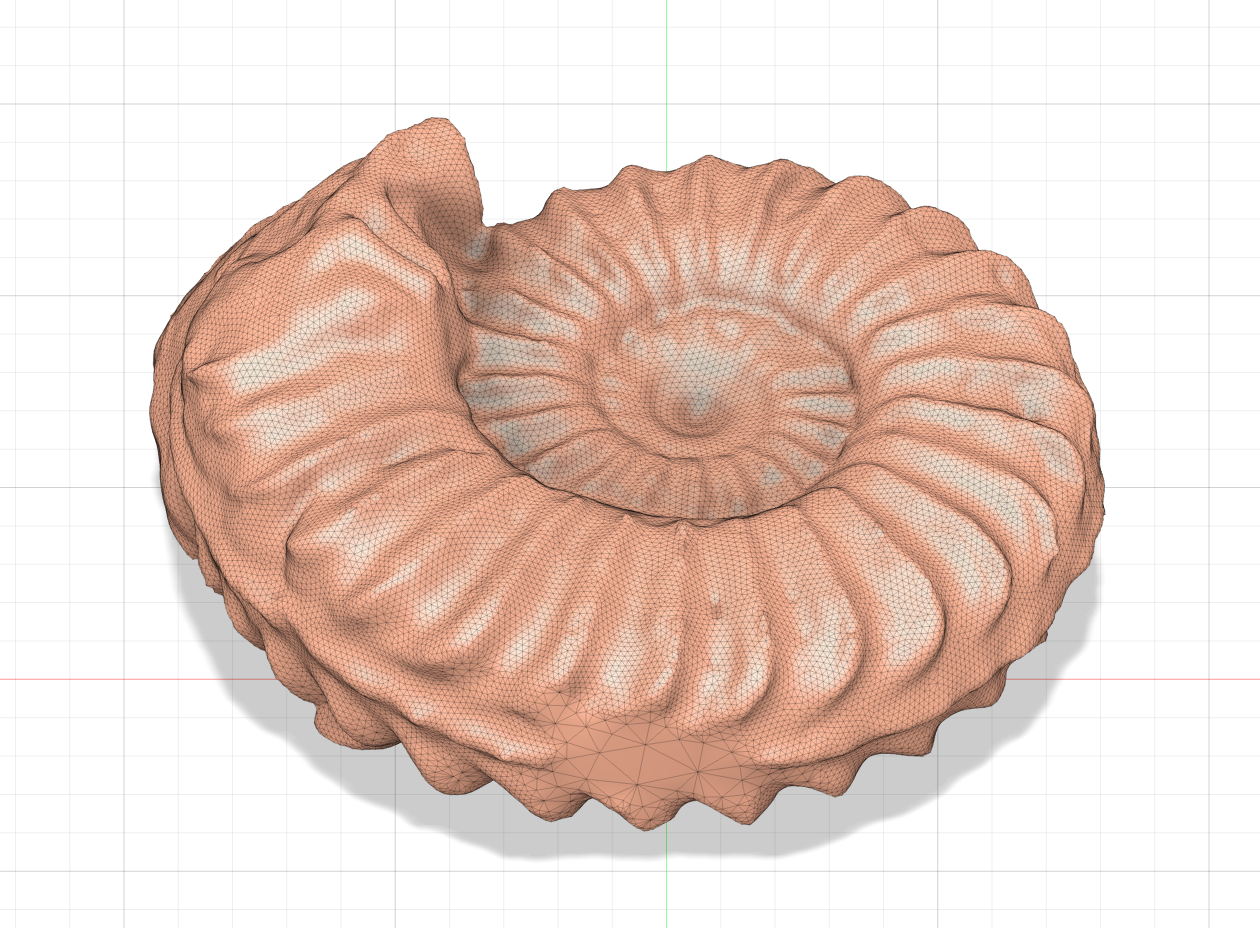
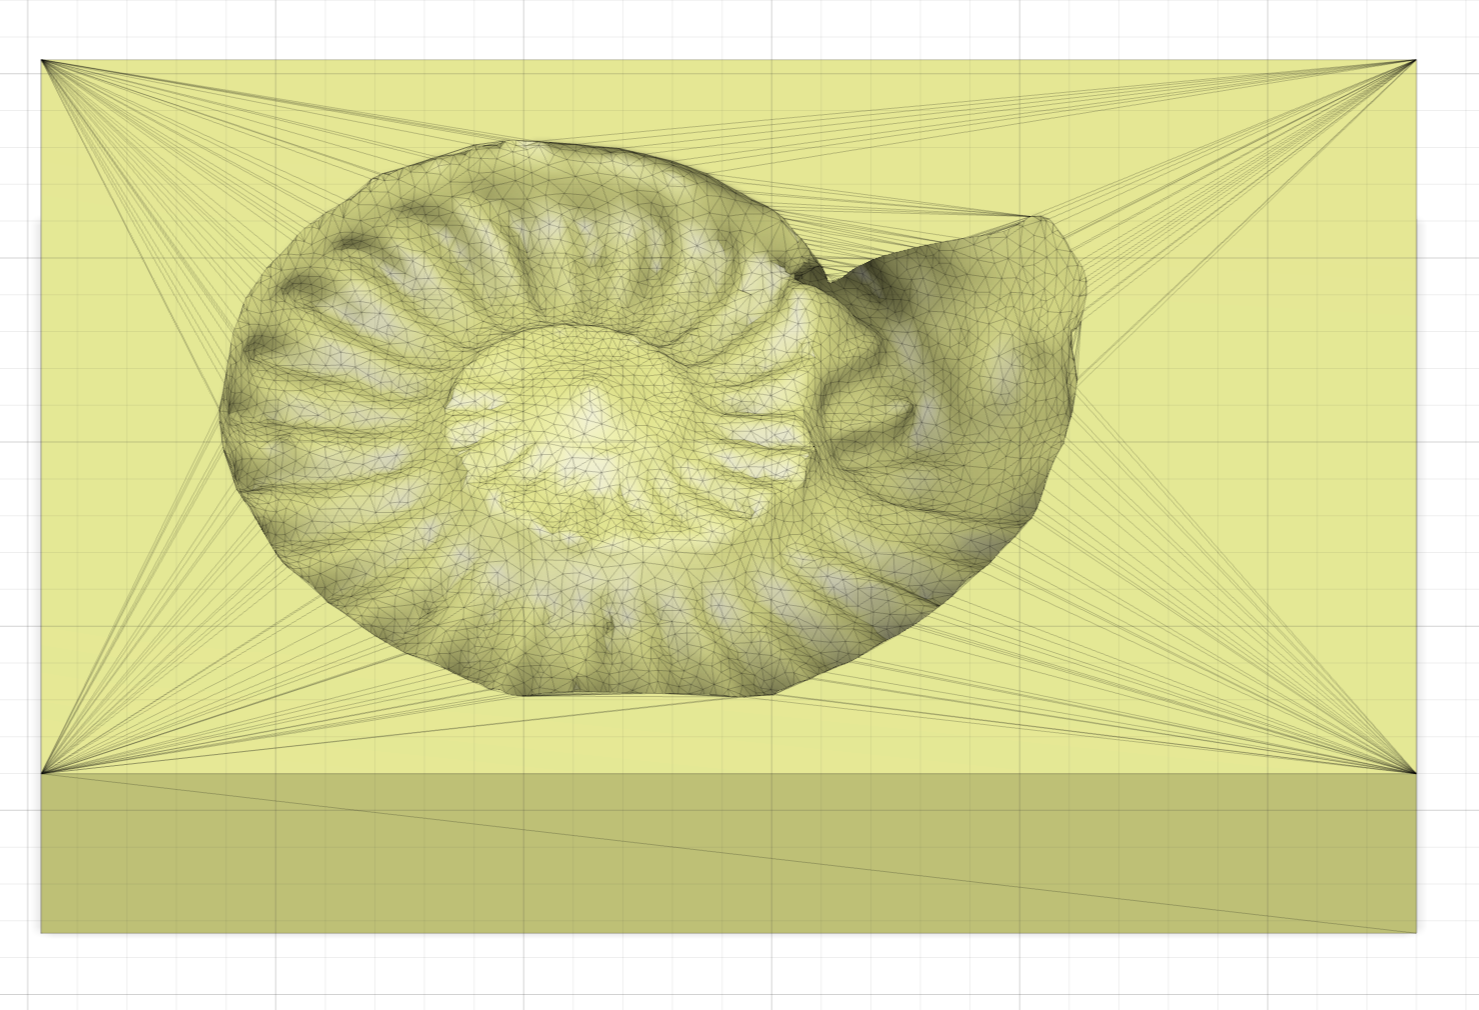
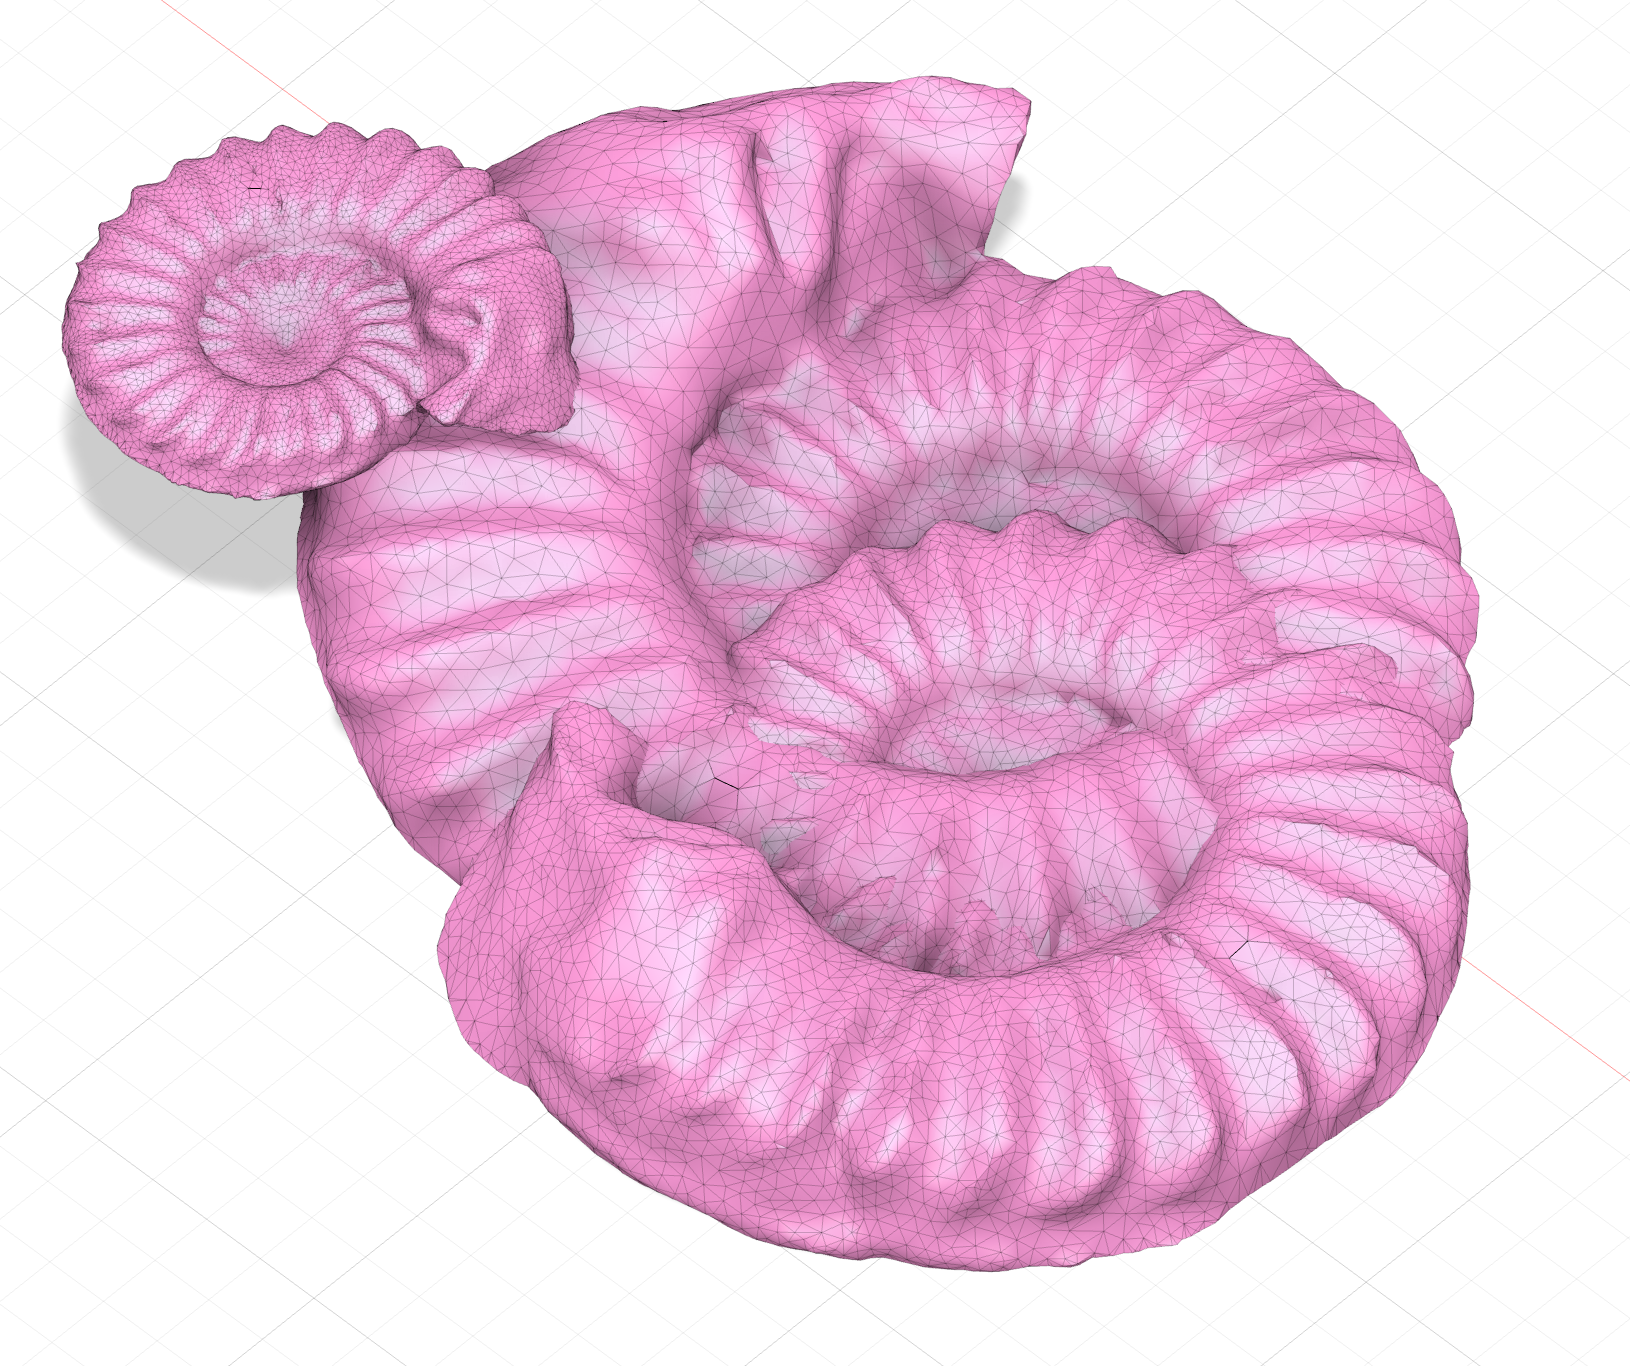
I began with a 3D scan of an ammonite fossil, which I converted into a .stl and imported into aspire to generate my roughing and finishing toolpaths.
Playing with Inversion

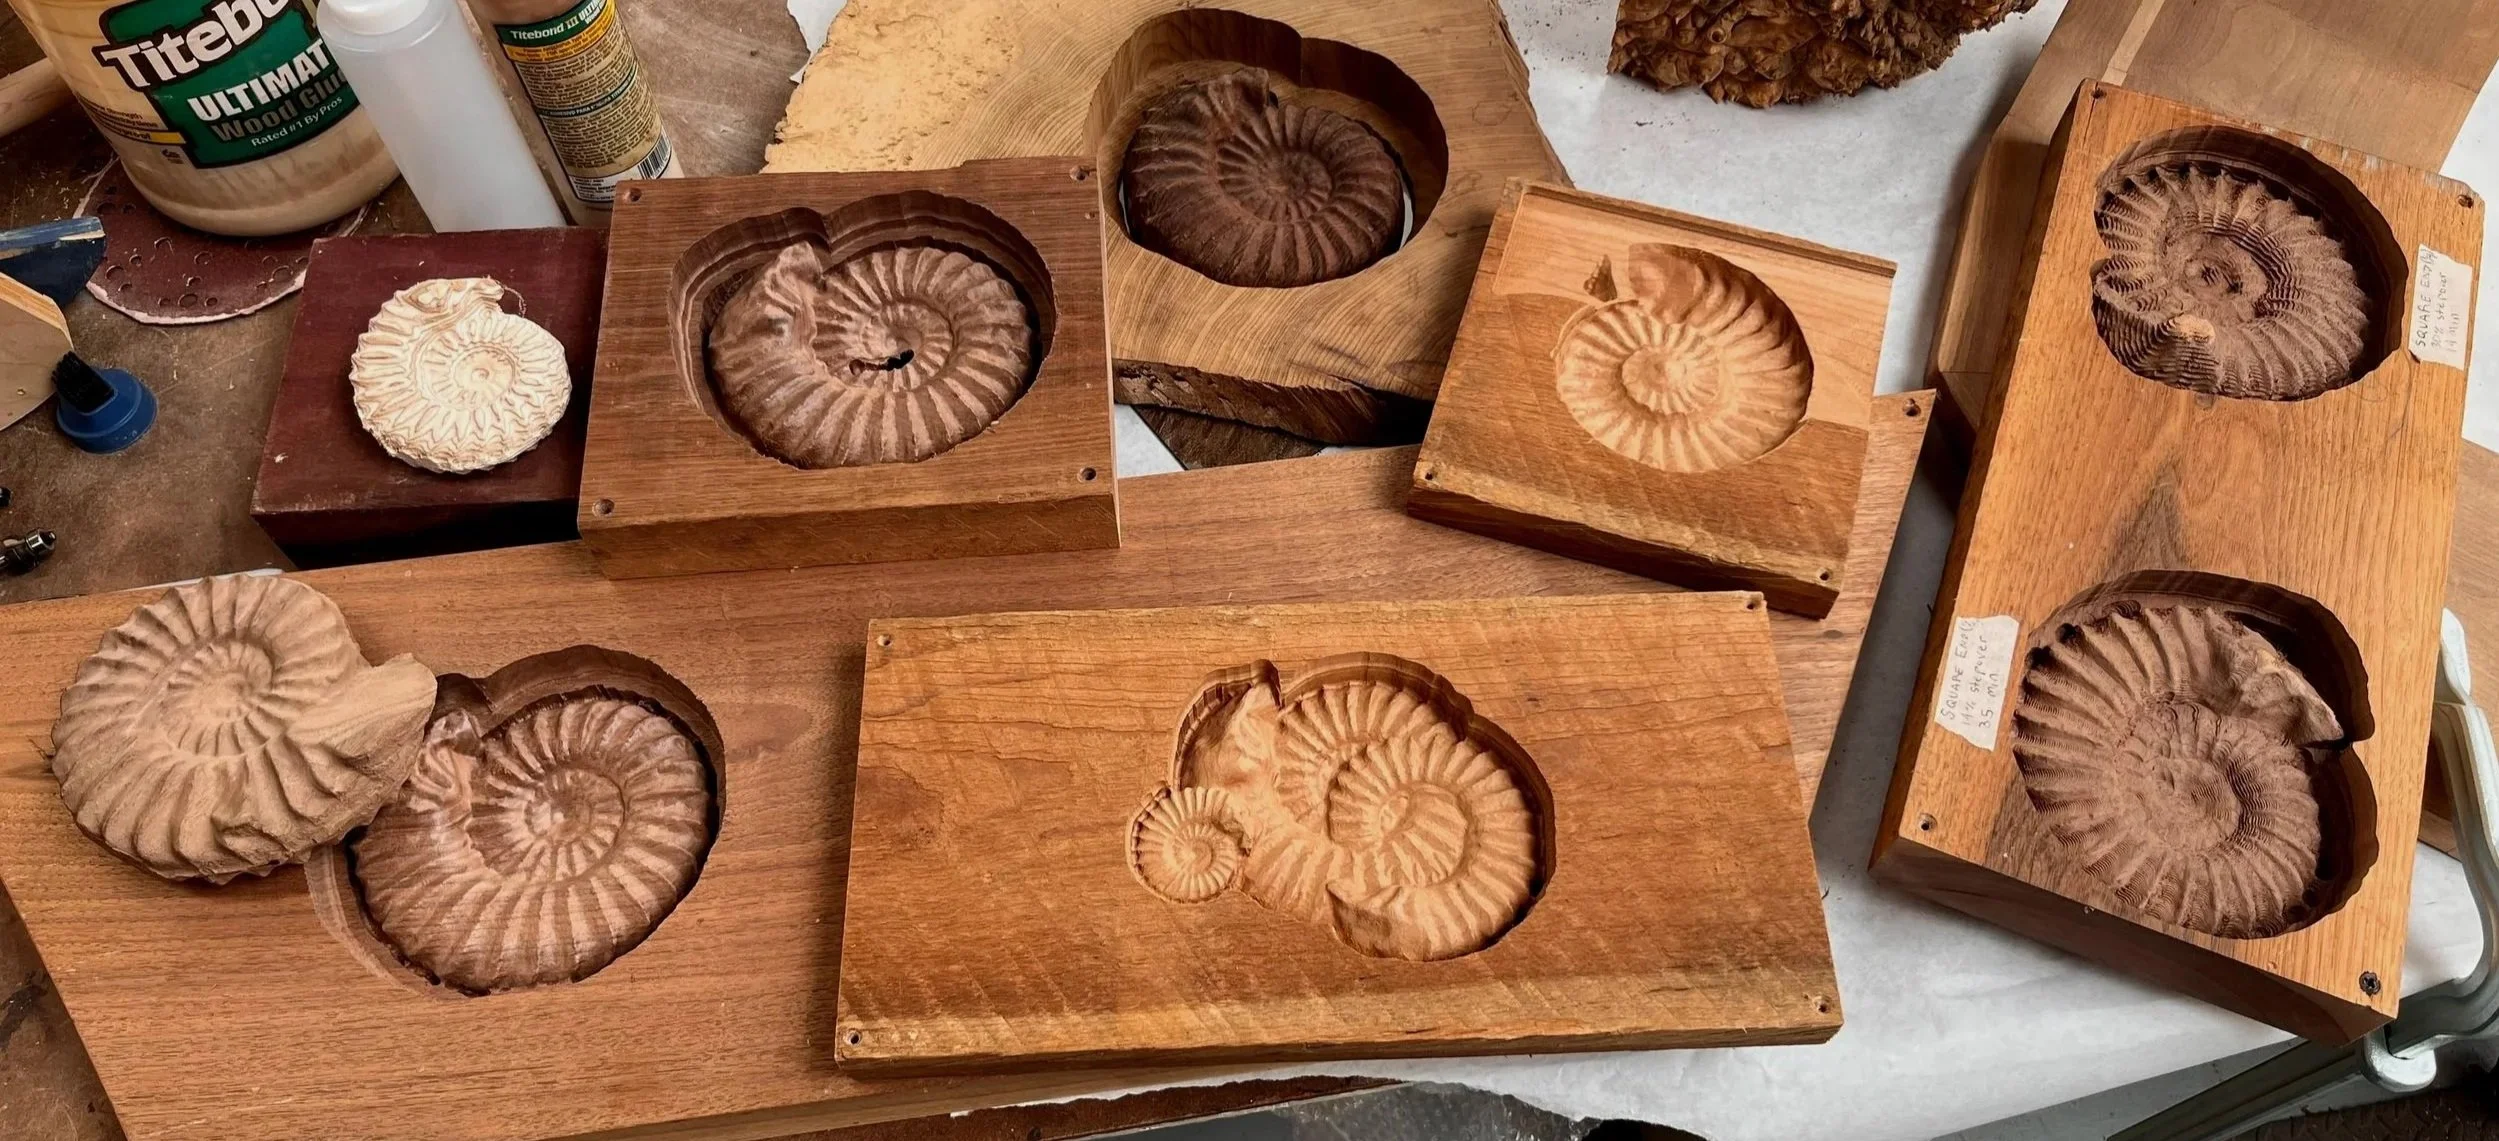
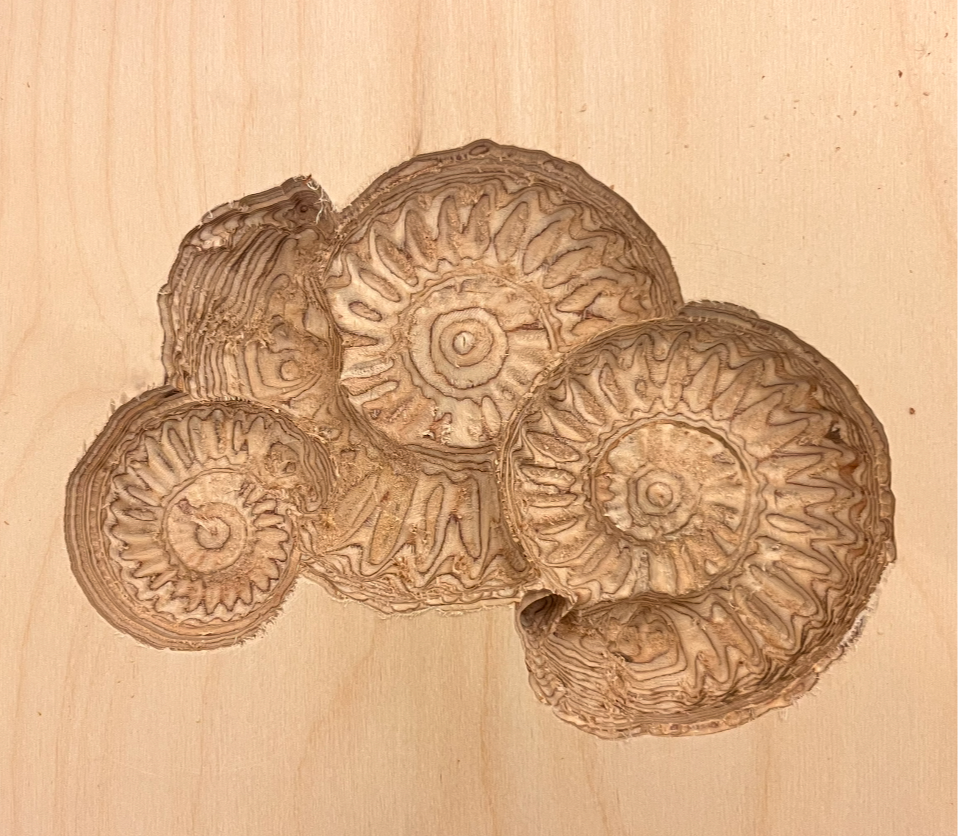
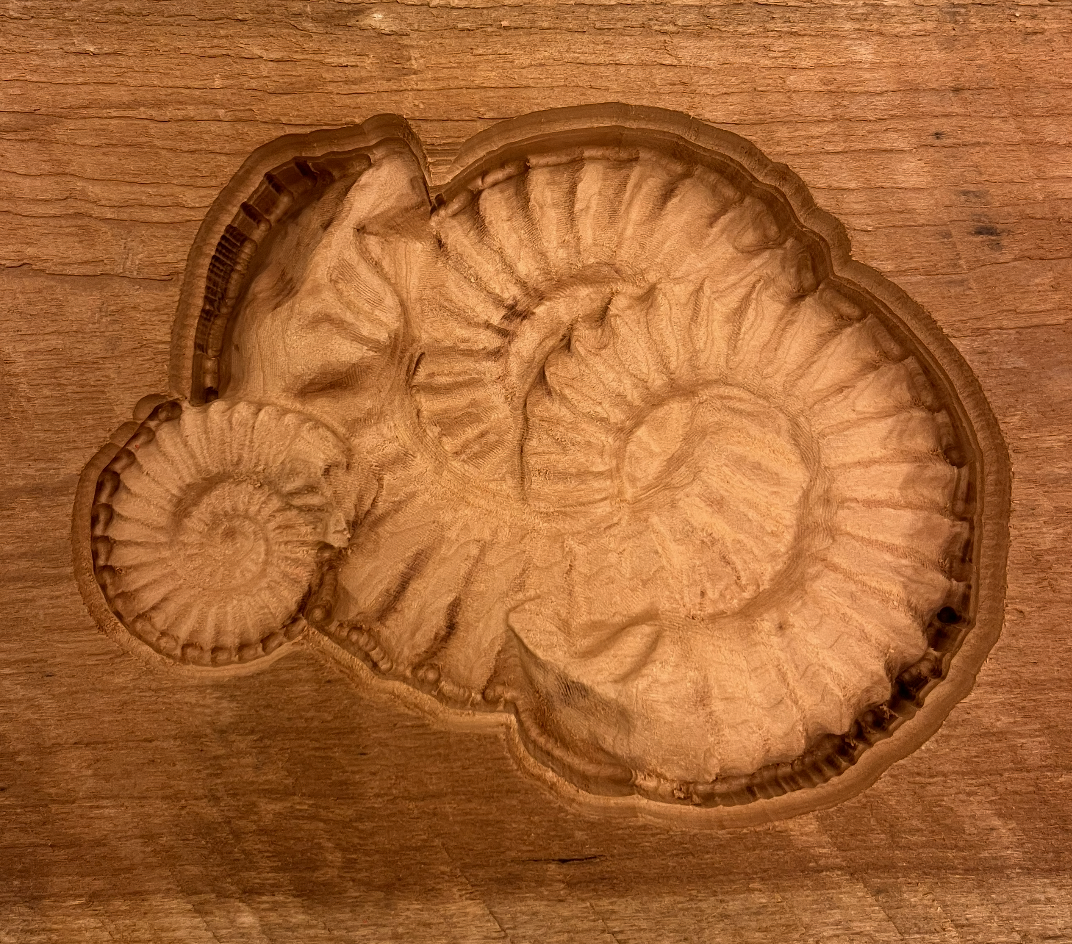
The Triple Ammonite
This project was the result of several experiments with fossil forms on the CNC. It began as a 3D model in fusion, which I manipulated to ensure that each shape was distinct and appropriately visible.
Roughing Pass: 1/4” square endmill
Finishing Pass: 1/8” ball endmill
Total time: 4.5 hours
Roughing: 1/4” square endmill
Total time: 3 hours
Finishing: 1/8” ball endmill
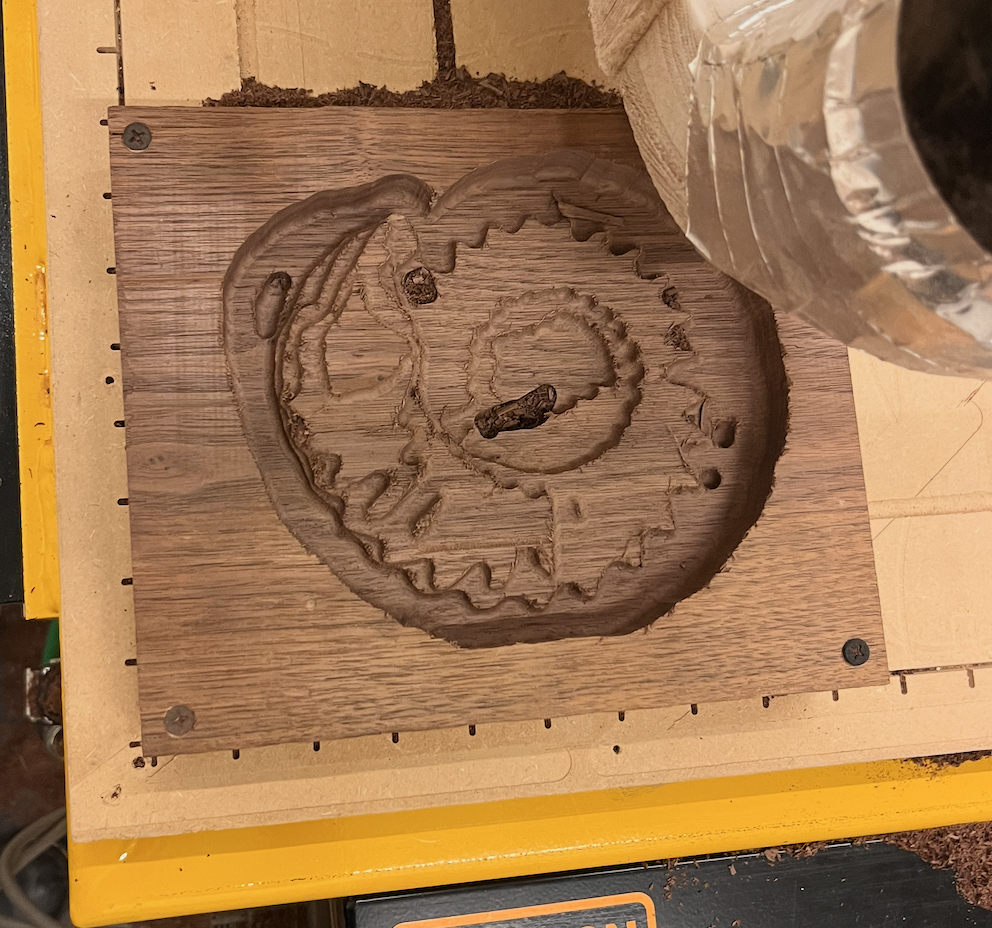
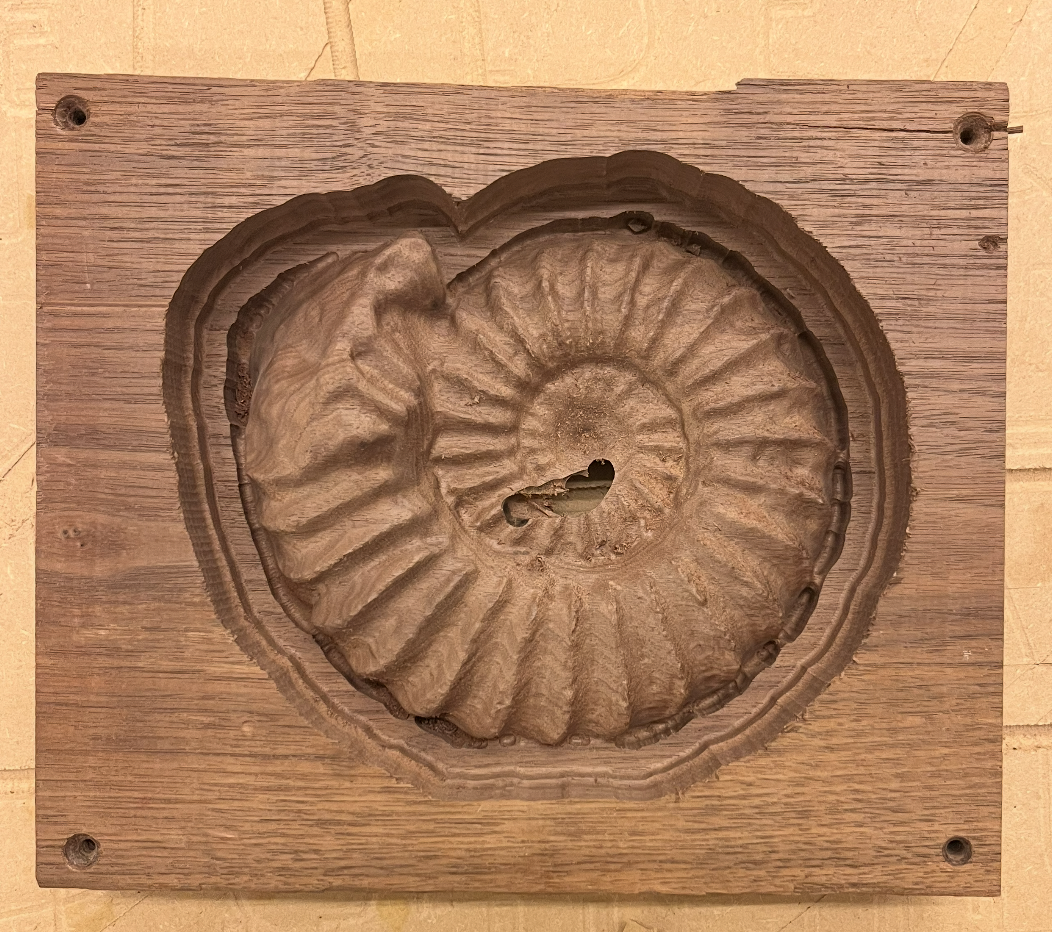
By using the cut feature on fusion, I joined the form of the ammonite with a simple block, creating an impression of the form. While I only ran tests on scrap wood with this method, I enjoyed how the impression was flush with the surface of the material, a perfect negative of my other relief work.
Triple Test
The Single Ammonite